YouTube has transformed into the world’s second-largest search engine, with more than two billion monthly users and over 500 hours of new content uploaded every single minute. With such massive competition, the question isn’t whether people are watching videos—it’s whether they’re watching yours. The real challenge is figuring out How to Create a YouTube Video that stand out so viewers don’t scroll past.
The good news? You don’t need to invest in high-end cameras, expensive microphones, or a professional studio team. What truly matters is following a structured process that takes an idea and shapes it into a polished, watchable video. Whether you’re just launching your channel or trying to grow your existing audience, success comes down to mastering four critical stages of YouTube video creation:
This comprehensive guide will walk you through each stage step by step. By the end, you’ll know exactly how to transform an idea into a video that not only attracts viewers but keeps them engaged from start to finish.
Stage 1: Pre-Production – Laying the Groundwork for a Great Video

Think of pre-production as your foundation. It’s where ideas take shape and strategy is defined. Many beginners skip this stage, assuming they can “figure it out” during recording. The result? Content that feels messy, unstructured, or too long—causing viewers to lose interest fast.
Strong, successful videos are crafted long before the camera turns on. Planning ensures your content has a clear purpose, flows naturally, and appeals to the right audience.
How to Generate Video Ideas That Attract Viewers
A winning video begins with a strong idea. But a “strong” idea isn’t just about what excites you—it’s about what your audience is actively searching for.
1. Solve Audience Problems
The most reliable way to generate ideas is to directly address issues or questions your audience has. Ask yourself:
- What common questions come up in my niche?
- Where do beginners often get stuck?
- Which topics are confusing and need a straightforward explanation?
Examples:
- Instead of “My Thoughts on Editing Software,” try: “Best Free Editing Software for Beginners in 2025.”
- Instead of “Organizing My Desk,” go with: “5 Desk Hacks to Instantly Boost Productivity.”
When your video solves a problem, it’s far more likely to attract clicks and retain viewers.
2. Tap Into Current Trends
Trends can boost visibility—if used strategically.
- Check Google Trends to identify rising topics.
- Browse YouTube’s Trending page and Shorts feed for formats gaining traction.
- Watch for repeatable content types (challenges, reactions, comparisons) that consistently perform well.
The trick is to tie the trend back to your niche. For example, if a meme is going viral, a tech creator might post: “Reacting to the Funniest Tech Versions of the [Meme Name] Trend.”
3. Smart Competitor Research
Analyzing successful creators in your niche offers valuable inspiration.
- Identify 5–10 top-performing channels.
- Sort their videos by “Most Popular.”
- Study their titles, thumbnails, and topics. (To Analyze competitors’ thumbnails in high-resolution detail. Use our YouTube Thumbnail Downloader to save and study the designs that are already winning clicks.)
Don’t copy—adapt. Notice patterns that work, then add your own unique spin. For instance, reviewing thumbnails with a downloader tool can reveal why certain designs get more clicks.
Writing Scripts That Keep Viewers Watching
Scripts (or at least structured outlines) keep your content sharp and engaging. Without one, it’s easy to ramble or drift off-topic. Remember: attention is YouTube’s currency.
The Hook → Value → CTA Formula
- Hook (0–15 seconds): Capture attention right away.
- Example: “Why do 90% of YouTubers quit within a year?”
- Or: “By the end of this video, you’ll know how to edit twice as fast.”
- Value (Main Content): Deliver your promise clearly, broken into easy-to-digest segments.
- CTA (Call to Action): Guide viewers at the end. Move beyond the generic “Like and Subscribe.” Instead:
- “Check out my advanced editing tutorial next.”
- “Download the free checklist in the description.”
Why Storytelling Works on YouTube
Even educational or tutorial-style videos are more memorable when structured as a story.
- Act 1 – Setup: Present the problem or goal.
- Act 2 – Struggle: Share challenges, experiments, or mistakes.
- Act 3 – Resolution: Reveal the final solution or result.
Example (Cooking Video):
- “I was spending too much on takeout pizza.”
- “I tried three recipes—two were disasters.”
- “Finally, I found the perfect one, and now I make amazing pizza at home.”
Stage 2: Production – Recording Your Content

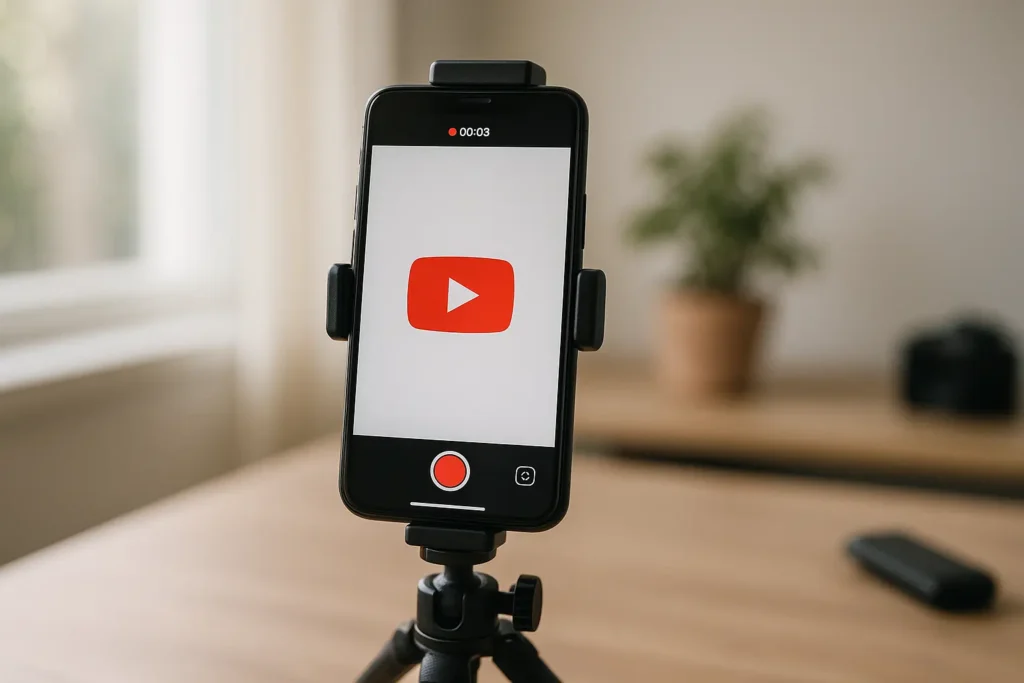
Once your plan is in place, it’s time to hit record. Don’t worry if you don’t own professional equipment—many popular creators built their audience using nothing more than a smartphone. What matters most is clear visuals, strong audio, and intentional framing.
Audio: The Most Overlooked but Crucial Factor
Viewers may forgive less-than-perfect visuals, but poor audio makes them click away instantly.
Beginner-Friendly Microphones:
- USB Mics: Easy to use, great for desk setups (Blue Yeti, Rode NT-USB).
- Lavalier Mics: Clip-on mics perfect for tutorials or recording on the move.
- Shotgun Mics: Capture sound directly in front while reducing background noise.
Lighting: The Secret to Professional-Looking Videos
Good lighting can make even basic cameras look professional.
Affordable Options:
- Natural Light (Free): Shoot near a window for soft, even lighting.
- Ring Lights: Popular for sit-down videos.
- Softbox Kits: Budget-friendly option for controlled studio lighting.
Pro Tip: Avoid overhead lights—they create unflattering shadows.
Filming With a Smartphone Like a Pro
Modern smartphones rival cameras when used properly. Tips:
- Always clean your lens before recording.
- Use the back camera for higher quality.
- Lock focus and exposure by tapping your subject.
- Apply the Rule of Thirds for better framing.
- Keep the phone stable with a tripod (or stacked books).
- Record in a clean, uncluttered background.
Stage 3: Post-Production – Editing Into a Finished Video

Editing transforms raw footage into a polished final product. This isn’t about complexity—it’s about clarity, pacing, and storytelling.
Beginner Friendly Editing Workflow
- Organize Files: Keep footage, audio, and graphics in labeled folders.
- Rough Cut: Trim mistakes, long pauses, or repeated takes.
- Add B-Roll: Use close-ups, cutaways, or screen recordings.
- Music & SFX: Choose royalty-free tracks that support your voice.
- Final Touches: Adjust color, add transitions, and polish overlays.
Free Resources for Beginner Friendly Editing
- Stock Footage: Pexels, Mixkit, Canva, Pixabay.
- Graphics/Overlays: Canva, Motion Array, Envato Elements.
Editing Tricks to Hold Attention
- Pattern Interrupts: Use zooms, memes, or text every 15–20 seconds.
- Jump Cuts: Eliminate filler for faster pacing.
- Sound Design: Add subtle effects (clicks, swooshes) for emphasis.
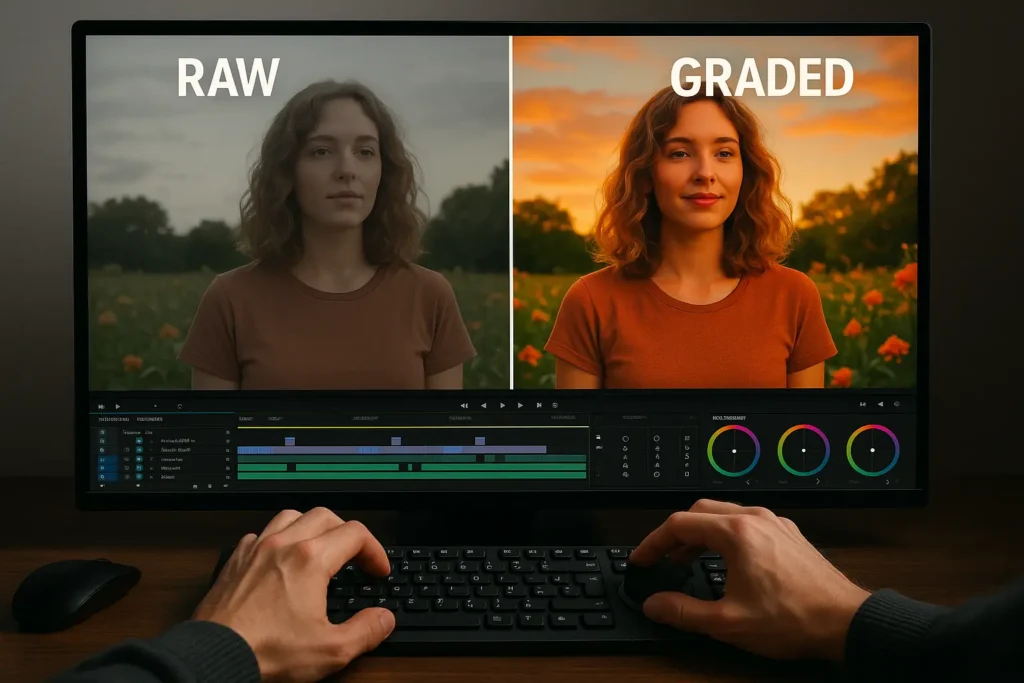
Color Correction & Grading
Small adjustments go a long way.
- Correction: Fix white balance, brightness, and contrast.
- Grading: Apply stylistic tones (warm lifestyle vibes, cool tech tones, or cinematic teal-orange).
Free tools like DaVinci Resolve or CapCut make this accessible to beginners.
Stage 4: Publishing & Optimization

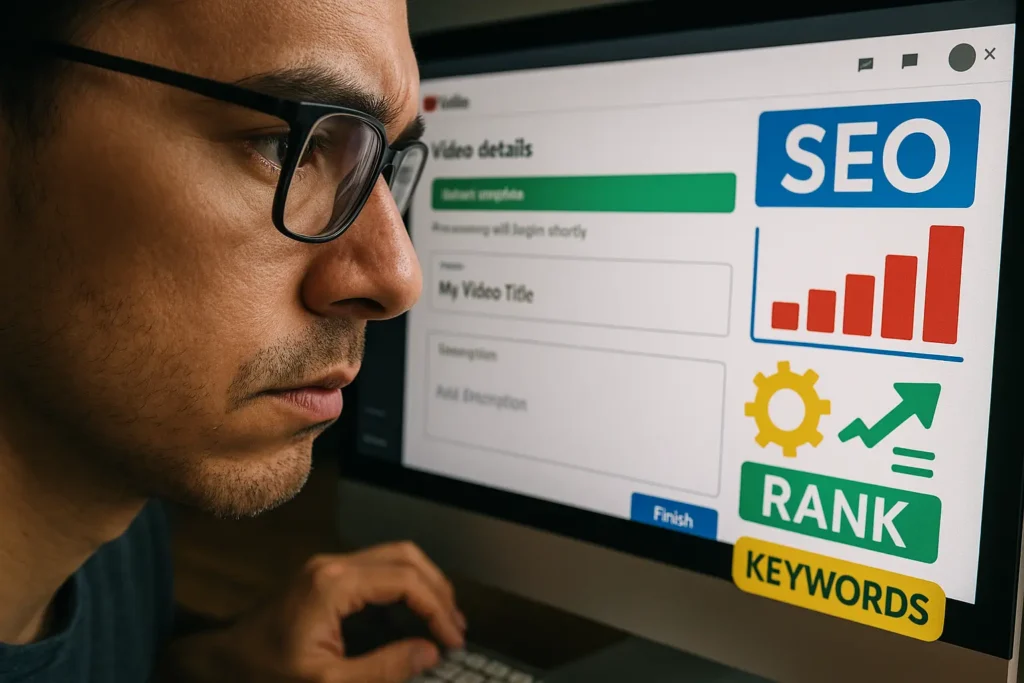
Editing isn’t the final step. How you publish and optimize determines how many people discover your video. YouTube is essentially a search engine—so SEO matters.
Core Optimization Steps for (How to Create a YouTube Video)
- Title: Clear, keyword-rich. Example: “How to Create a YouTube Video (Beginner’s Guide).”
- Thumbnail: Bold, high-contrast design with minimal text.
- Description: Write 200+ words including natural keywords.
- Tags: Still useful for relevance, though less critical today. You can also see our guide (Do YouTube Tags Still Matter in 2025? Yes – Here’s Exactly How to Use Them) For Better understanding.
- Chapters: Add timestamps for easier navigation.
- Engagement Triggers: Ask a direct question to spark comments.
FAQs: Common Questions About Creating YouTube Videos
What’s the best beginner-friendly editing software?
CapCut is simple and intuitive. For more advanced features, DaVinci Resolve’s free version is excellent.
How long should a YouTube video be?
There’s no magic number. A fast-paced 5-minute video beats a dragging 15-minute one.
Do I need a professional camera?
Not at all. Many creators with millions of subscribers started with smartphones.
How do I get comfortable on camera?
Practice privately first. Record “test” videos and watch them back. With repetition, confidence grows.
How often should I upload?
Consistency matters more than frequency. One strong weekly upload beats several rushed ones.
Conclusion: Start Creating Today
Making videos that people watch from beginning to end doesn’t require expensive gear or complex strategies. The real formula is simple: plan your content, record with intention, edit for engagement, and optimize for discoverability.
The most important thing to remember? Progress matters more than perfection. Every upload sharpens your skills. The biggest YouTubers didn’t start with flawless content—they improved through consistent practice and publishing.
So don’t overthink How to Create a YouTube Video . Choose an idea, outline it, record it, edit it, and hit upload. Your audience is waiting.
